
So after a late season camp trip in my brand new van (read my blog reviewing a trip to Thistledown Farm, Gloucestershire) I decided that I definitely needed an upgrade in insulation.
The van did already have existing insulation. It had fibre glass insulation held in place by 5mm ply boards. The boards were covered in grey van carpet. I was glad that I had tried camping out in cold weather as it gave me the resolve to rip it out and start again.
This post covers wall insulation. We decided to tackled the ceiling and floor at a later date.
WHY INSULATE?
There are a lot of discussions about the best way to insulate vans. Insulation is important as it keeps heat in, excess heat out and reduces condensation.
I read about everything from basic to high-tech insulation. I wanted to do more than basic insulation, because that was what I was effectively removing. Some of the higher quality examples that I looked at talked about using a fully waterproof membrane on either side of the insulation. This prevents any water vapour penetrating and causing rust issues. Sounds great, but very impractical unless you have an immaculately dry workshop to undertake the work and the ability to ensure there are absolutely no breaches in either membrane. I don’t have the workshop, and I think it is almost impossible to ensure a perfect membrane seal in a DIY build. Any imperfections in the seal could let water vapour in, but would it get out as easily once it had condensed on contact with the colder outer membrane?
I decided to go for a combination approach. One that I knew worked as our friends had recommended it (the friends that had camped with us on the trip where we froze). It is also an approach that minimises water reaching the van metal, but also allows the material to breath so that water vapour can escape and the walls (insulation) fully dry out.
I chose to sound proof, then used a foil bubble wrap insulation, Celotex insulation board and recycled plastic bottle insulation.
THE MATERIALS I USED:
x1 Diall Loft insulation roll – I used this as it doesn’t hold water like many traditional fibre insulation materials.
x2 Celotex GA4000 Insulation board 2400mm x 1200mm x 50mm
x3? Insulation tape
x3? Trimfix Adhesive – High Temperature – Spray Glue (from ebay). It is important to use hight temperature glue as vans can get extremely hot in summer!
x2 boxes of X20 Sheets of silent coat 2mm (375 x 270 mm) Although I had over 1/2 a box left at the end (from ebay)
Cleaning cloth, soapy water and towels.
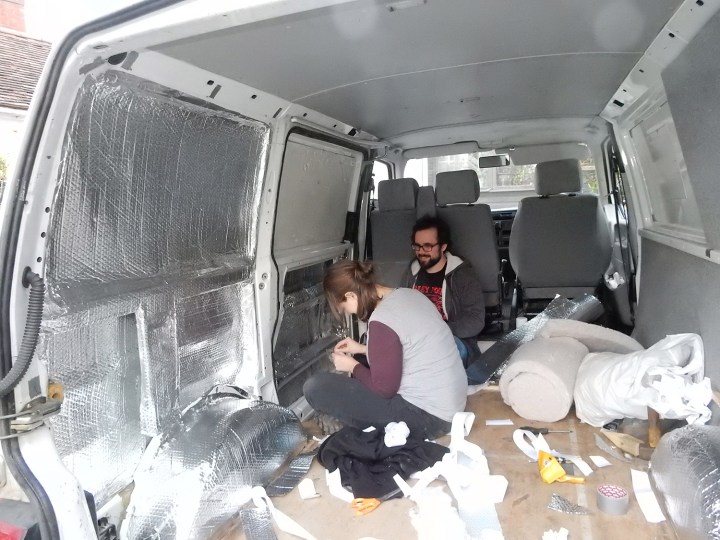
I bribed both my husband and dad into helping me. Insulating is one job that is A LOT easier with at least two people. My dad also has a large drive and garden which make handling the large ply boards easier.
STEP 1: PREP
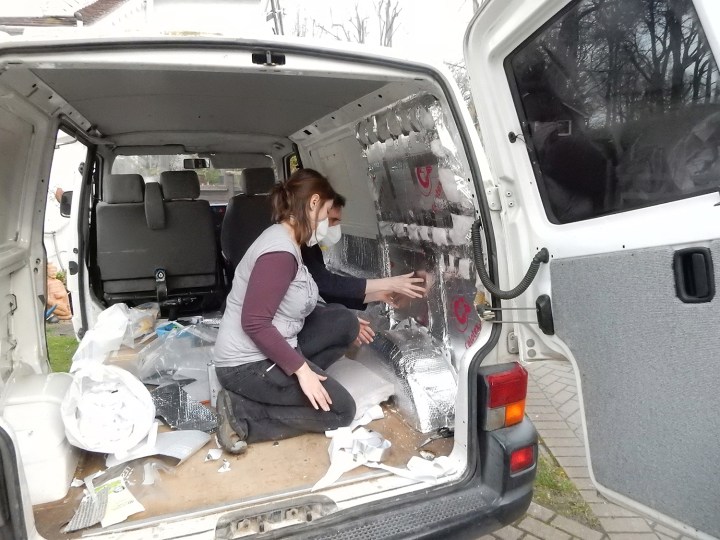
We started on one side, removing the ply wood boxes covering the wheel arches, then the ply side panels. We then moved onto removing the existing fibre glass insulation. I strongly recommend using masks and gloves when handling fibre glass insulation to avoid inhalation of the small particles that become airborne and to avoid skin irritation.
I then used a damp cloth to wipe down all the panels in the van as I wanted to ensure any glue or tape I used later would adhere properly. Initially I dried them with towels and then left them to air-dry fully while I moved on to the second part of the work.


STEP 2: CUTTING A WINDOW GAP INTO THE PLY BOARD
Next I turned my attention to the ply. I had decided to re-use the existing ply as it fit perfectly and the carpet finish was in good condition. This would save me a lot of time and money.
The drivers side of my van had a full wall of existing ply. I intended to get a window put in, so I decided to cut a section out of the panel. That way I could continue the build fully without the worry that any furniture I put in would have to be taken out at a later date during the window fit.
After removing the panel, we measured the section to be removed. As I didn’t know the size of the window I would be getting I measured it to fit up to the edge of the raised metal surround of the van panel.
We marked out the section using tape. Then we peeled the fabric back, cutting it diagonally from the top left corner to the bottom right corner. This meant that we had two fabric flaps that could be folded back over the wood once it had been cut.
Once the fabric was pulled out of the way (and trimmed to leave just a bit of spare), we marked up the wood and cut with a hand held jigsaw.
We then folded the fabric over the raw wood edges and held in place using spray glue.


Then we started on the insulation itself….
STEP 3: SOUND PROOFING
I recommend Silent Coat sound proofing. It is expensive but it works really well to stop your panels vibrating. It has made my driving experience a lot quieter and also means that I can play music from my van and the sound primarily comes out of the door to where we might be bbq’ing and if you start to walk away form the van the sound very quickly dissipates – a must to keep other nearby campers happy!
Silent Coat is easy to cut with strong scissors and has a sticky back so you can simply peel away the backing paper and fix it straight to the van metal. You don’t need to cover your entire panel, just a small portion of it. We actually used quite a lot, but we had lots spare and I was aware that there was already some similar sound proofing in the van which didn’t work very well, so I wanted to play it safe and have more rather than less.
Here’s a picture of the divers side with the Silent Coat attached. Notice that I put it on all flat surfaces and made sure to use it on the wheel arches. Notice I didn’t do the panel which will become a window later.
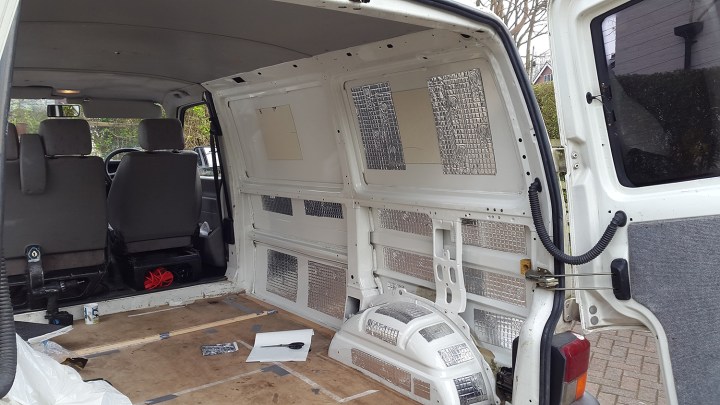
STEP 4: FOIL INSULATION
We taped insulation foil over all the panels that were to be covered in ply. We used tape to hold the foil in place. I didn’t want to use glue at this stage because the foil was sitting directly against the van metal. Although I had to fix the sound proofing directly to the van metal, I wanted it to be relatively easy to remove and to re-use the insulation materials if I needed to for any reason (for example if one of my panels needed welding or replacing at some point).
This job is a lot easier with two people!

STEP 5 & 6: CELOTEX INSULATION BOARD & FIBRE INSULATION
We used 50mm Celotex board. This only just fits into the depth of a VW T4 wall cavities. It does mean that you may have to work a bit harder to get the ply walls back on, but it also means that your insulation board will be held tightly in place by the walls as well as but the glue.
To attach, we cut the board to size. Then we sprayed one side of it with the glue and held in place for a few seconds. We also lightly taped it in position, but this was more of a temporary measure just to make sure it was secure.
I’ll admit that I just cut the board in roughly fitting blocks, but if you have the time you can carefully shave the edges of the board until it fits the cavity spaces perfectly.
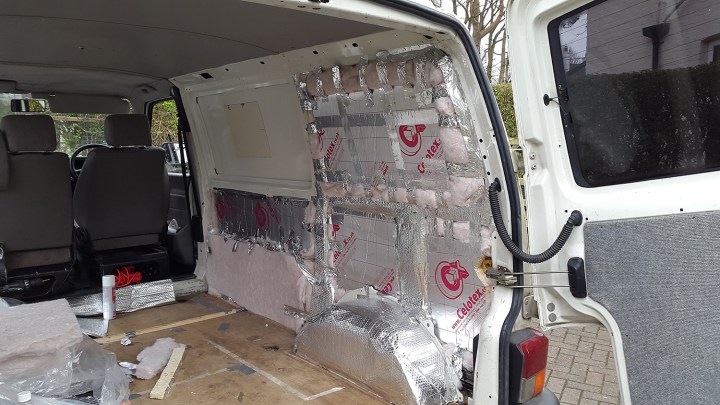
As you can see see as soon as we had filled a cavity with the insulation board we then padded out all the remaining gaps around it with the recycled plastic bottle fibre insulation. We chose to use this type of fibre insulation primarily as it does not hold moisture, but it also is not a skin irritant and is a recycled materials which I like.
NOTE: We did find that the fibre insulation fights back when screwing into it (when replacing the Ply boards we had a few screws push outwards and drill bits break when trying to secure the wood). I recommend that you keep this in mind and make sure the fibres are not overlaying areas where you screws need to go later on.
We held the fibre insulating in place using the tape. I cannot remember exactly how many rolls of tape we used, but I’d recommend having more rather than less – you can always return any unused rolls, but it would e really annoying to have to stop part way through a section.
On the wheel arches we used sound proofing and foil insulation. Then we packed all the remaining space between the wheel arch and the ply box with the fibre insulation.
STEP 7: PLY BOARD
Finally we replaced the ply board. For us this was relatively easy as it was already perfectly shaped and most of the time we could find the existing holes to screw back into.
If you are not lucky enough to already have ply board, you can buy pre-cut ply board kits and carpet covering fabric from places such as JustKampers and Kiravans.
THE GRAND FINISH
We finished the van wall insulation in one day, but it was a long day. We started early and finished an hour into sunset.

We did not tackle the ceiling or floor at the same time. These will be covered later.
